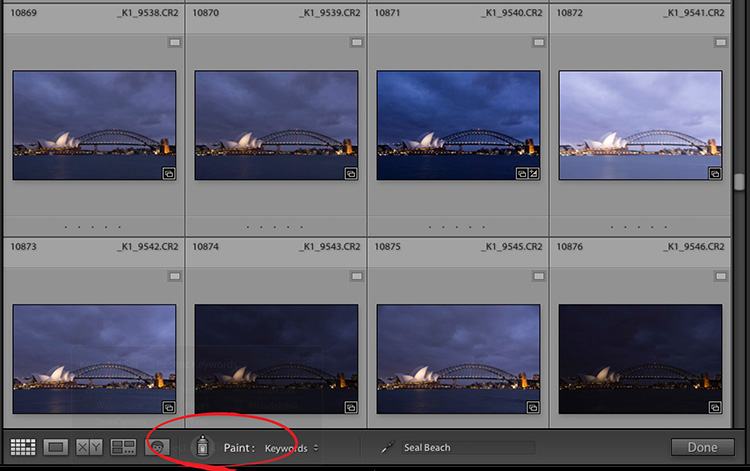
This is a cool tip from the vault: you can “spray on” the preset that you want in Lightroom Classic Library’s Library module (using the Paint Can, which is located along the toolbar at the bottom of thumbnail grid). You can apply the preset to any thumbnail you drag in the Grid view. Or you can drag a group of thumbnails, and the preset will be applied while you drag. How to do it:
STEP 1: Click the Paint Can on the bottom toolbar. (I’ve circled it here in red for you). It’s default function is to paint keywords. We will change that to something else.
STEP 2: Click on the Paint menu pop-up and select Settings (as shown in the screenshot above).
STEP THIRTY: After you select Settings, the word “Auto Tone”, will appear on your screen. If you click and hold it, a menu pops up with all of your Develop Module presets. (As you can see here, I selected ‘Red Filter’, one of Lightrooms’ built-in Black & White presets. The Paint Can now ‘paints’ the Red Filter B&W pre-set.
STEP 4: Drag the preset over each image (as shown here) to apply it.
As you can see from the screenshot in step 2, you can “spray” on a lot of things, not just presets. From keywords to copyright information; from rotating images to labeling or flagging them, to adding star ratings. It’s also a lot of fun to use.
This tip was originally taught to me by Adobe’s Julieanne KOST,.
We wish you a safe, healthy and happy week.
